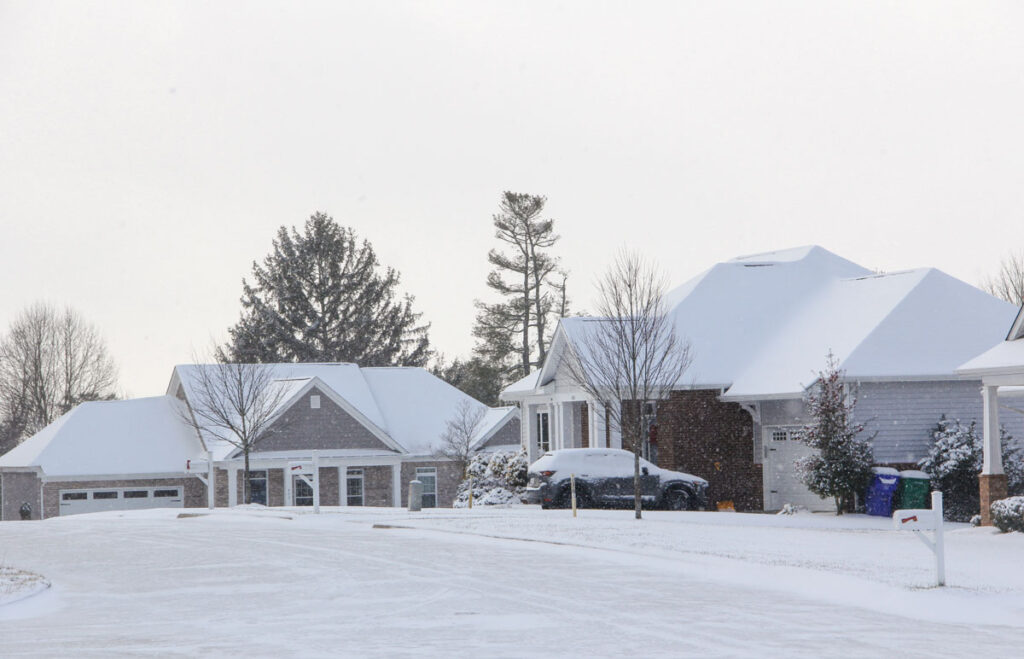
Winter is Coming: How to Prepare Your Roof for Snow and Ice

As winter approaches, it’s time to ensure your home is prepared for the colder weather—and your roof is no exception. Snow, ice, and heavy winds can all take a toll on your roof, especially if it’s not ready for the season. Here’s a guide on how to prepare your roof for the winter months to keep your home safe and warm.
1. Clean Your Gutters
One of the most essential steps in winter roof preparation is cleaning out your gutters. Gutters that are clogged with leaves, twigs, and other debris prevent water from draining properly, which can lead to the formation of ice dams. When water overflows from clogged gutters, it can freeze at the roof’s edge, creating a heavy buildup of ice that can damage shingles and even cause leaks.
Tip: After cleaning the gutters, consider installing gutter guards to help prevent debris buildup in the future, making winter preparation easier year after year.
2. Trim Overhanging Branches
Trees close to your roof can pose a risk during winter storms. Snow and ice on branches add extra weight, causing them to break and potentially damage your roof. Overhanging branches can also drop leaves onto the roof, contributing to gutter clogs and retaining moisture on shingles.
Tip: Trim back any branches within 10 feet of your roof to avoid damage. Not only will this help protect your roof, but it will also improve sun exposure, allowing snow to melt more efficiently.
3. Inspect for Damaged Shingles
Winter can be especially tough on your shingles, so it’s best to ensure they’re in good condition before the first snowfall. Look for any cracked, curling, or missing shingles. Damaged shingles can lead to leaks, and if water seeps underneath them, it may freeze and expand, causing even more damage.
Tip: If you notice any damaged shingles, consider having them replaced now to prevent larger problems down the line. If you’re unsure of the condition of your shingles, a professional roof inspection can be a wise investment.
4. Check Flashing and Sealant
Flashing—the metal strips around chimneys, vents, and skylights—plays a crucial role in keeping water out. Over time, flashing can loosen or degrade, creating weak spots where water can enter. Sealants around flashing and other roof fixtures can deteriorate with exposure to weather.
Tip: Ensure all flashing is secure and intact. If the sealant looks cracked or worn, consider reapplying it or hiring a professional to handle it. Proper flashing and sealing help protect against winter leaks, especially when snow starts melting.
5. Assess Attic Insulation and Ventilation
A well-insulated attic isn’t just about keeping your home warm—it also protects your roof. Proper insulation and ventilation in the attic help prevent the formation of ice dams by keeping the roof at a stable temperature. When heat escapes through an under-insulated attic, it melts snow on the roof, which can refreeze and create ice dams.
Tip: Check your attic’s insulation and make sure vents are clear. Adding insulation or improving ventilation can help prevent costly winter roof repairs while also lowering your heating bills.
6. Schedule a Professional Roof Inspection
For a thorough check-up, it’s wise to schedule a professional roof inspection. Roofers have the expertise to identify issues that might be easy to miss, such as small leaks or worn-out areas around chimneys and vents. An inspection can help catch these problems early, so you can address them before they become major issues during the winter months.
Contact Reader Roofing
If you’d like assistance getting your roof winter-ready, our team is here to help! Contact us at (216) 451-1355 to schedule an inspection or consultation. Let’s keep your home cozy, dry, and protected this winter.


You must be logged in to post a comment.